DIY Air Filter Installation: A Step-by-Step Guide
DIY Air Filter Installation: A Step-by-Step Guide
Improving Indoor Air Quality with Ease
Indoor air pollution is a growing concern, with airborne particles and allergens posing significant health risks. Installing an air filter is a simple and effective way to purify the air and improve indoor air quality. In this article, we will guide you through a step-by-step process for DIY air filter installation, covering various application areas and highlighting key considerations.
Choosing the Right Air Filter
Before installation, it’s essential to select the right air filter for your needs. Consider the following factors:
- Room size: Choose a filter that matches the square footage of your room or area.
- Filter type: There are several types of filters, including fiberglass, pleated, and HEPA (High Efficiency Particulate Air) filters. HEPA filters are ideal for individuals with allergies or respiratory issues.
- Air flow: Select a filter with the correct air flow rating to ensure proper circulation.
- Turn off the power: Switch off the air conditioning or heating unit to prevent any accidental start-ups.
- Remove any existing filters: Dispose of any old filters to prevent cross-contamination.
- Wear protective gear: Use a face mask and gloves to protect yourself from airborne particles.
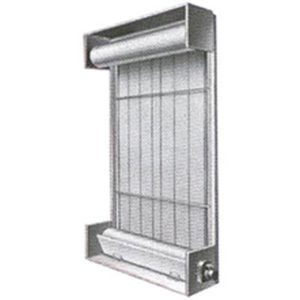
- Locate the Filter Housing: Identify the air filter housing, usually located behind a grille or vent.
- Open the Housing: Remove any screws or clips holding the housing together.
- Remove the Old Filter: Gently pull out the old filter, taking care not to touch any exposed components.
- Insert the New Filter: Place the new filter into the housing, ensuring it’s properly seated and secured.
- Replace the Housing: Reattach the housing, securing it with screws or clips.
- Turn On the Power: Restore power to the air conditioning or heating unit.
- Home offices: Improve indoor air quality in small workspaces with compact air filters.
- Kitchens: Filter out cooking odors and airborne particles with kitchen-specific air filters.
- Bedrooms: Enhance sleep quality with air filters designed to remove allergens and irritants.
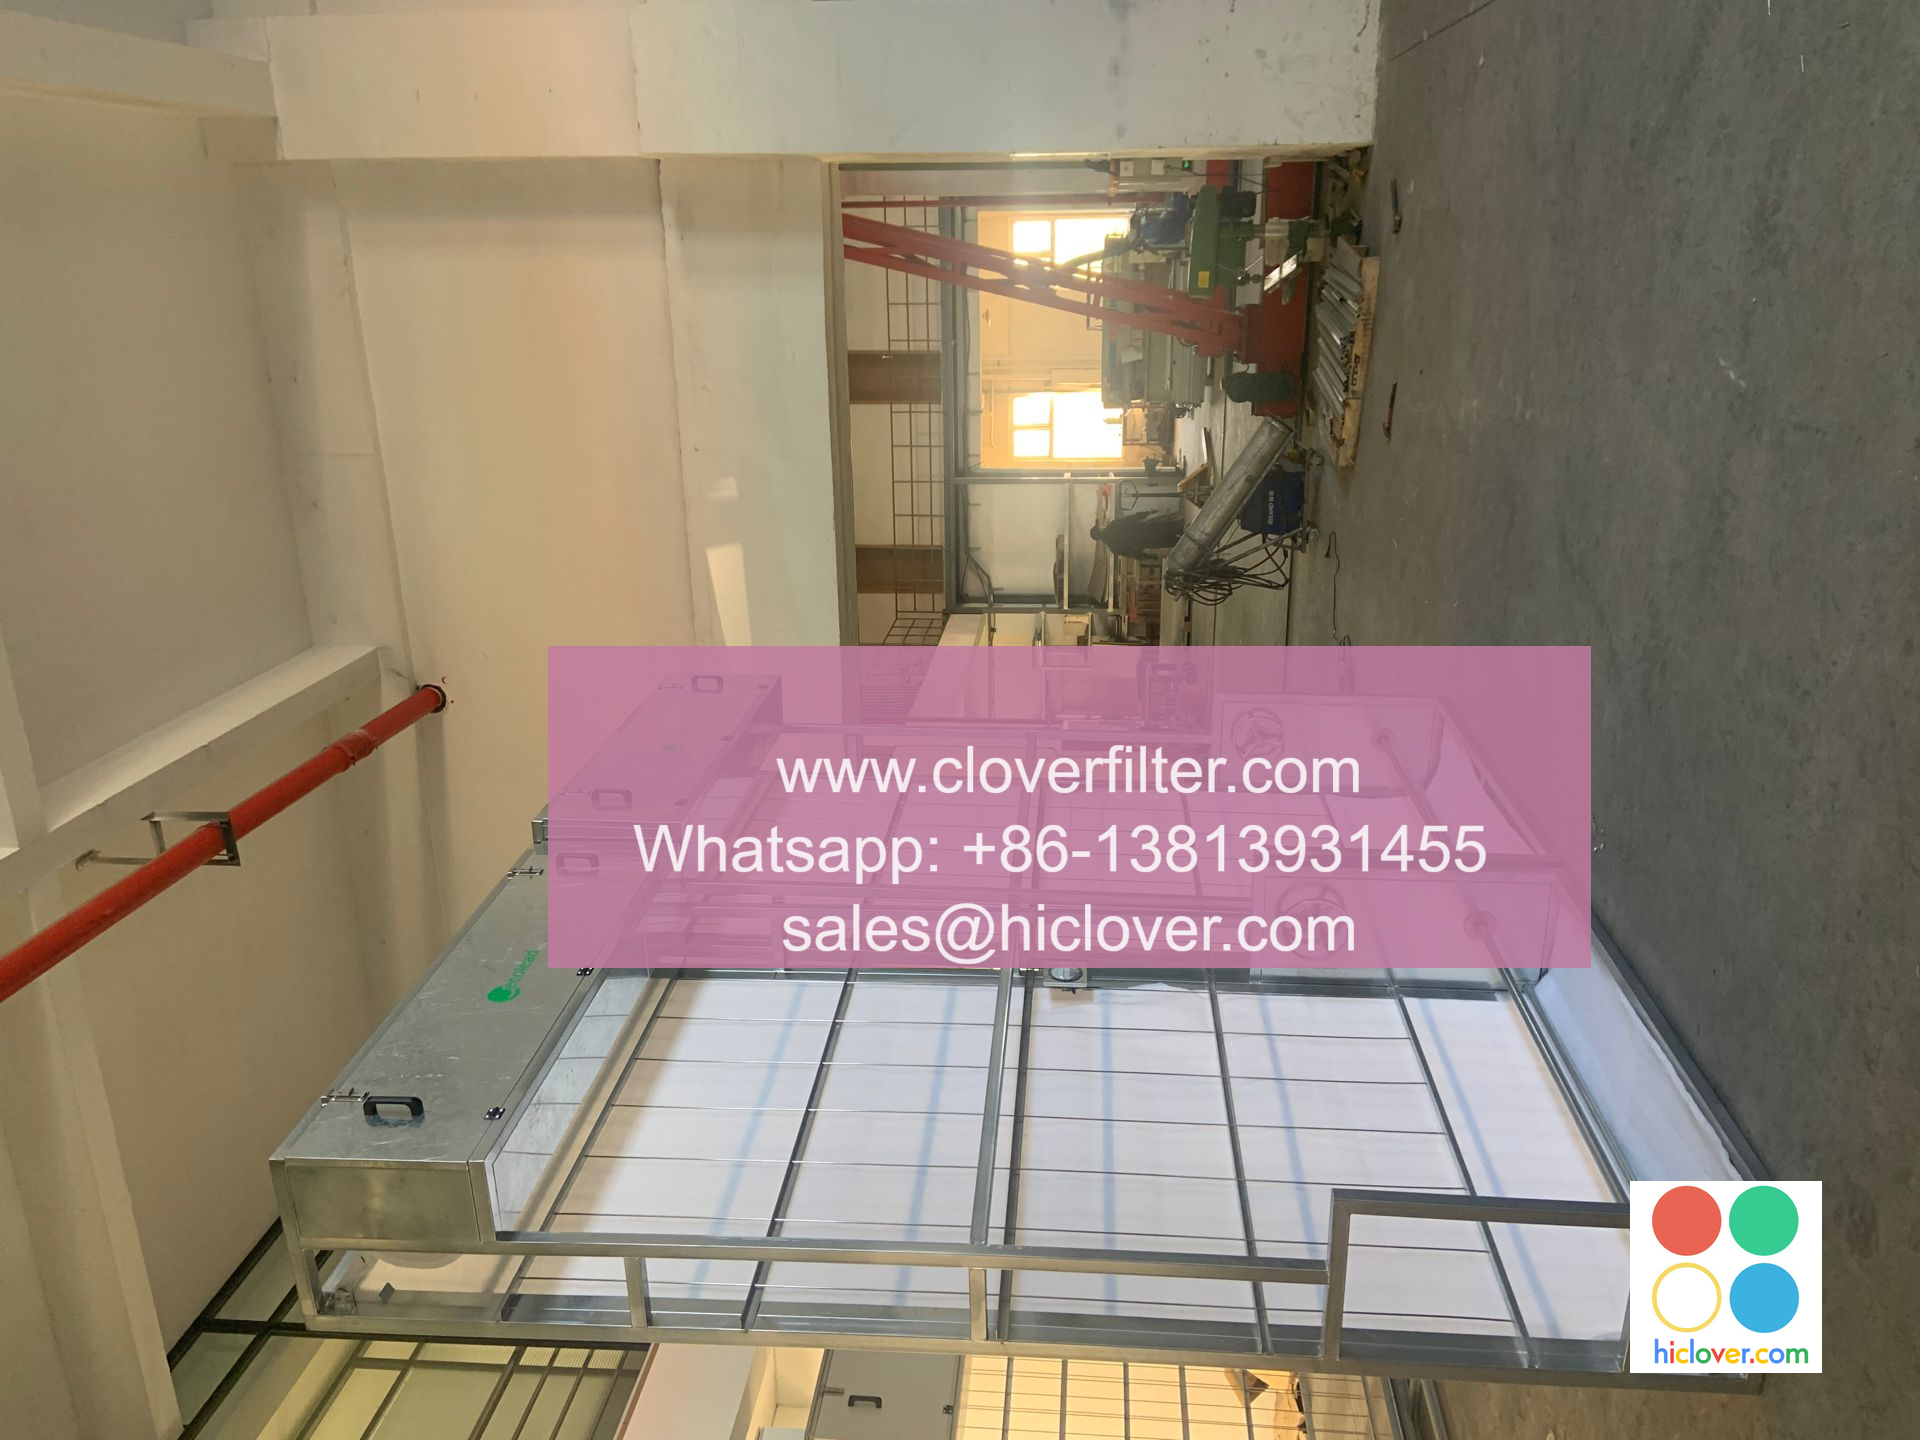
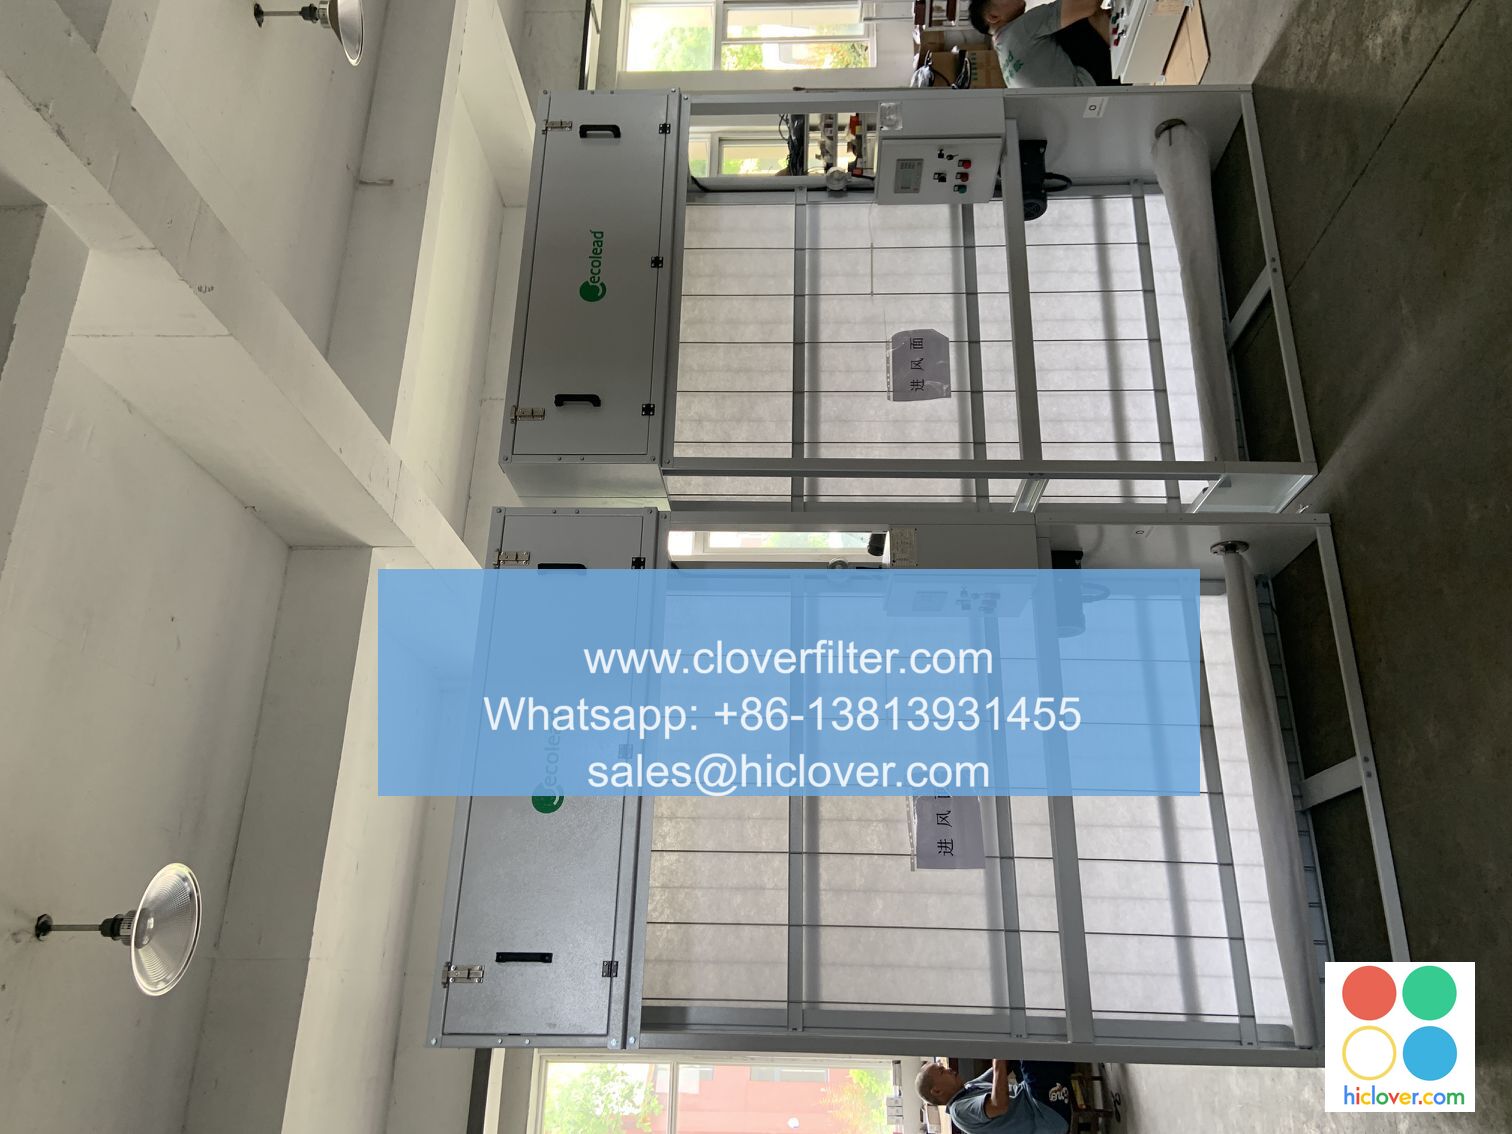
- Industrial settings: Implement industrial-grade air filters in manufacturing facilities or warehouses to reduce airborne pollutants.
- Regular Maintenance: Replace filters every 1-3 months, depending on usage and air quality.
- Cleanliness: Clean the air filter housing regularly to prevent dust buildup.
- Certifications: Look for filters with certifications from organizations like the Asthma and Allergy Foundation of America.
Pre-Installation Preparation
Before installation, ensure the following:
Step-by-Step Installation
Common Application Areas
DIY air filter installation is applicable to various areas, including:
Additional Tips and Considerations
By following this step-by-step guide, you can improve indoor air quality and reduce health risks with a DIY air filter installation. Remember to choose the right filter, prepare properly, and follow manufacturer instructions for a successful installation.
I’m happy to help! Please provide a prompt or topic you’d like to discuss, and I’ll do my best to assist you.